FaceTime Like a Pro
Get our exclusive Ultimate FaceTime Guide 📚 — absolutely FREE when you sign up for our newsletter below.

FaceTime Like a Pro
Get our exclusive Ultimate FaceTime Guide 📚 — absolutely FREE when you sign up for our newsletter below.


Before exploring Leonida, adjust these GTA 6 settings for better navigation, clearer visuals, comfortable controls, and a more enjoyable experience.
Just started your journey in GTA 6? Before exploring Leonida, take a few minutes to adjust the game’s settings. Small changes to controls, subtitles, camera movement, and the minimap can make a noticeable difference to your experience.
I’d recommend trying the Classic control scheme if you’re a returning GTA player, lowering Motion Blur, enabling subtitles, and keeping the Minimap Always On. You should also calibrate HDR if you’re using a compatible display.
Wondering why these changes are worth making? In this guide, we’ll go through the best GTA 6 settings and explain what each one does and why you should change it.
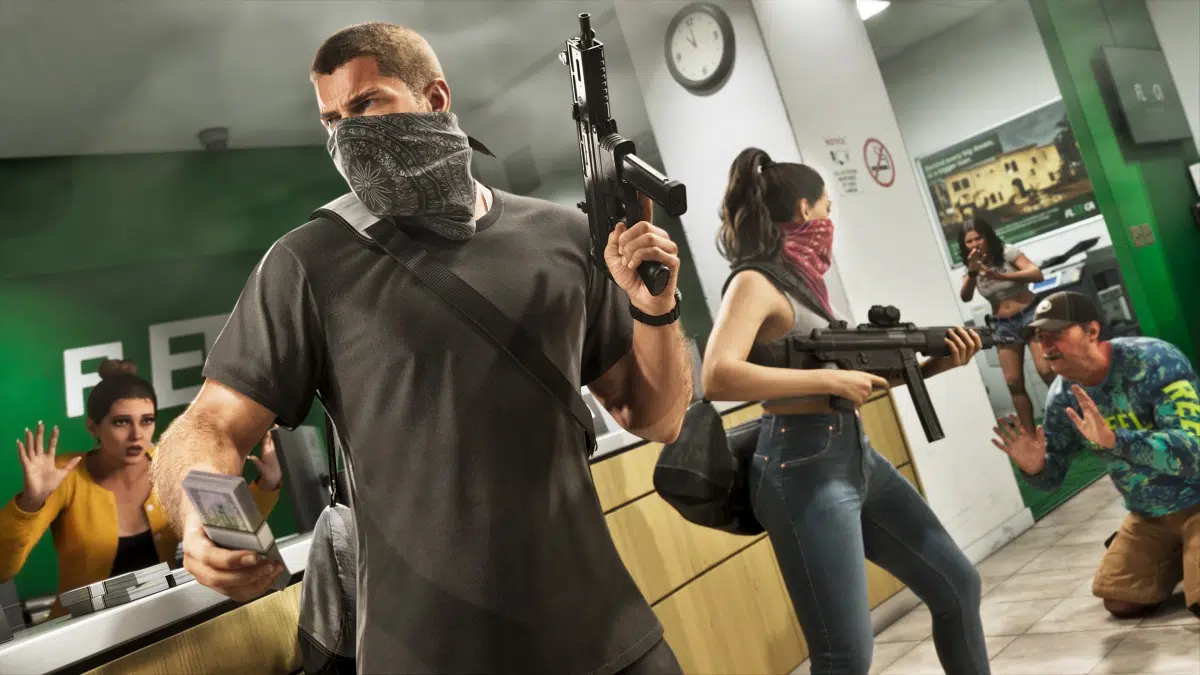
Let’s get one thing straight: GTA 6 doesn’t let you change graphics or FPS settings. The game is targeting 30 FPS on the PS5, PS5 Pro and Xbox Series X/S, with all the current-generation consoles rendering it at an internal resolution of 1440p.
According to Digital Foundry, the base PS5 even struggles to maintain consistent 30 FPS, with frame rates dropping to 23 FPS during intense explosions and demanding scenes. Although the PS5 Pro offers better image clarity through PSSR and ray-traced shadows, it’s still locked at 30 FPS.
If you’re playing GTA 6 on Xbox One through cloud gaming, you can expect the visual quality to be comparable to the Xbox Series S version.
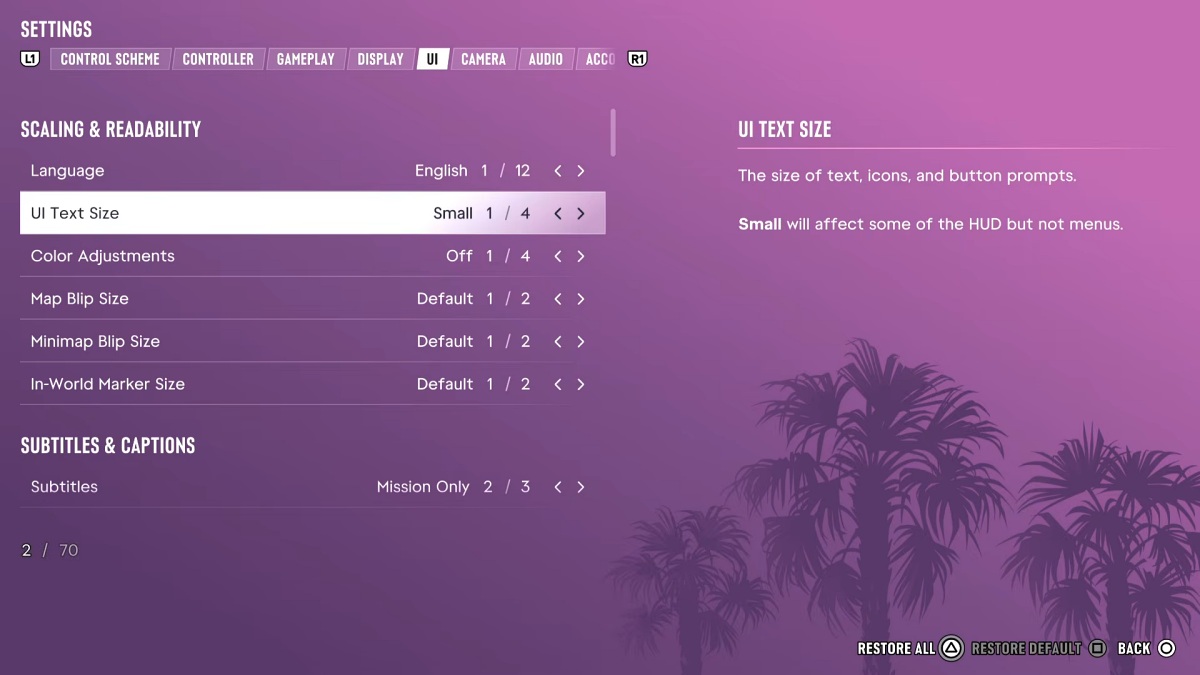
Once you’ve downloaded GTA 6 versions on your console and booted it up for the very first time, you’ll be greeted with a series of startup screens asking you to configure a few settings before jumping into the game.
Here are all the options and what each one is about:
| Setting | Default | Our Pick | Why |
|---|---|---|---|
| Screen Narration | Off | Off | Enable only if you need menu narration. |
| Navigation Experience | Minimap (Dynamic) | Minimap Always On | Keeps the map visible while exploring Leonida |
| UI Text Size | Small | Medium | Makes menu text and UI elements easier to read. |
| HDR Calibration | 600/50/50 | Calibrate according to your preference | Adjusts brightness and contrast to suit your display. |
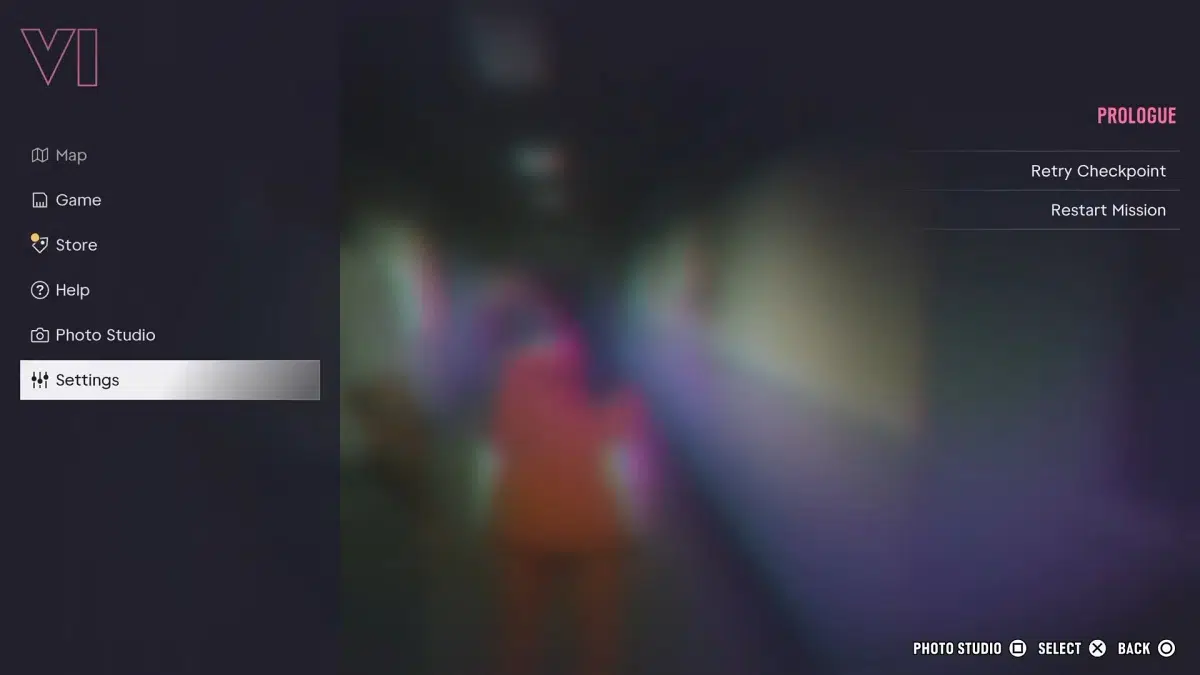
Now that you’ve finally managed to boot up the game, there are a few more GTA 6 settings worth changing to make your experience smoother and more enjoyable. Here are 15 GTA 6 settings we’ll recommend changing, along with what each one does and why it’s worth adjusting:
GTA 6 uses L3 to run and sprint by default. If you’re a returning GTA player, try the Classic control scheme to see whether its button layout feels more familiar.
The game lets you customize controller layouts for different activities, including on-foot movement, aiming, melee combat, and vehicles. Check the on-screen control preview before settling on a layout, as you may prefer different schemes for different activities.
GTA 6 offers three targeting modes: Lock-On, Partial, and Free Aim. If you’re new to the game, Lock-On is a good starting point because it makes targeting enemies easier.
Partial provides a balance between assistance and manual aiming, while Free Aim gives you greater control over targeting. I’d recommend starting with Lock-On and switching to Partial or Free Aim once you’re comfortable with the combat mechanics.
If the camera moves too quickly while you’re aiming, try lowering the horizontal and vertical Aim Sensitivity to around 5–6.
You can also experiment with the Aim Response Curve. Linear is worth trying if you prefer a more direct response to stick movement. However, the best combination depends on your controller habits, so adjust these values gradually.
Exploring Leonida on foot can be fun, but walking everywhere isn’t always practical. Switching your preferred movement speed from Walk to Jog can make getting around faster.
You can always switch back if you prefer a slower pace while exploring or interacting with the environment.
Leonida is a massive place to explore, and keeping the minimap visible can make navigation easier.
The Dynamic option displays the minimap according to the game’s navigation behavior, while Always On keeps it visible throughout gameplay. I’d recommend the latter if you frequently check roads, objectives, and nearby locations.
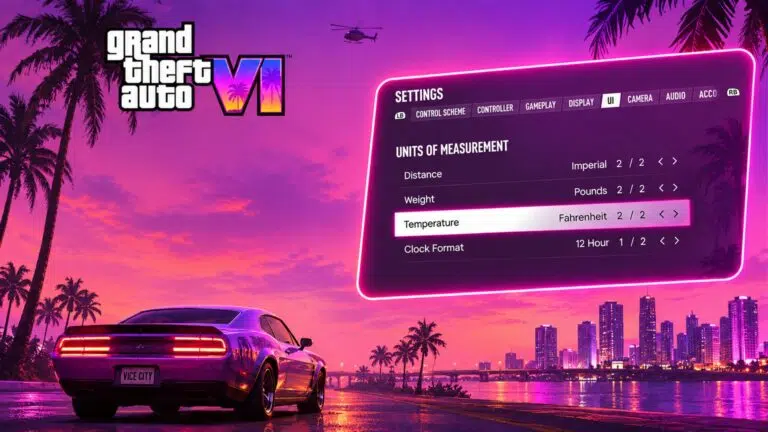
Want GPS distances in kilometres instead of miles? Learn how to change distance and measurement units in GTA 6.
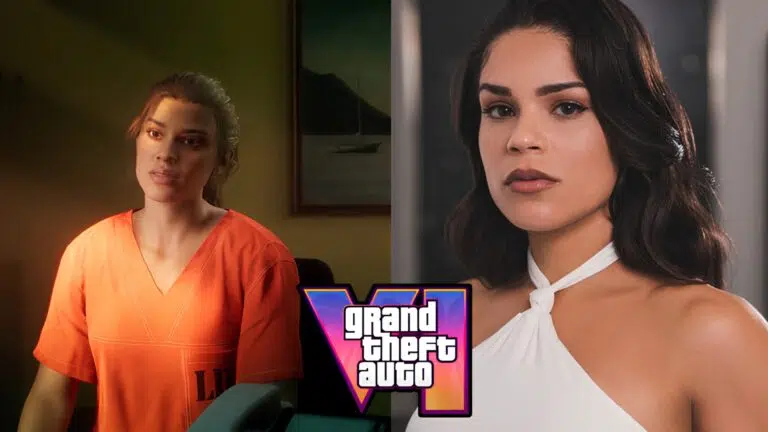
GTA 6 follows Jason and Lucia through missions, conversations, and encounters with different characters. With so much dialogue throughout the game, subtitles can help you follow the story without missing important details.
Turn them on if you prefer reading conversations or sometimes play with the volume low. You can also adjust their size and appearance in the same section.
The default text size might feel too small, particularly if you play on a television from a distance.
Increasing the UI text size can make menus, notifications, and other interface elements easier to read. Try Medium first, then switch to Large if you still struggle to read on-screen information.
The default Motion Blur Strength is 3. If you prefer a sharper image, try lowering it to 0 or 1.
This can make the image look clearer when you’re moving the camera or driving at high speeds. Keep in mind that this is a visual preference, not a guaranteed way to improve FPS.
Too much camera movement can become distracting, especially during longer gaming sessions.
Try reducing Camera Bob and turning Camera Shake off if you prefer a steadier view. You can also reduce the frequency of cinematic crash cameras and kill shots under the Camera settings.
If you’re playing the game on an HDR-compatible display, make sure to calibrate your HDR settings. This will get you the right balance of contrast, brightness, and highlights.
GTA 6 allows you to change the visual settings associated with combat and player status. Adjust them to 2-3 if you find screen effects a little too distracting. You can also enable a Persistent Center Dot under Reticle settings if you experience motion sickness.
GTA 6 brings tons of exclusive PS5 features, and one of them is using the DualSense’s haptic feedback and adaptive triggers. Although they add immersion, trigger resistance can become tiring during longer sessions. We’d recommend lowering Adaptive Trigger Resistance to make longer sessions comfortable.
Experiment with Audio and change whatever matches your preferences. We’ll recommend keeping the Dialogue volume high and setting Music and SFX around 7-8. You can also enable Mute Licensed music if you’re streaming your gameplay.
Don’t want a gory experience? Well, make sure to adjust the blood effects and dismemberment settings. There are three blood intensity levels and a dismemberment toggle.
Holding buttons repeatedly can become uncomfortable during longer gaming sessions. GTA 6 includes accessibility options that can make certain actions easier to perform.
Check the available hold and toggle controls for actions such as aiming and interacting. You can also enable Tap Assist to make button-pressing sequences more manageable.
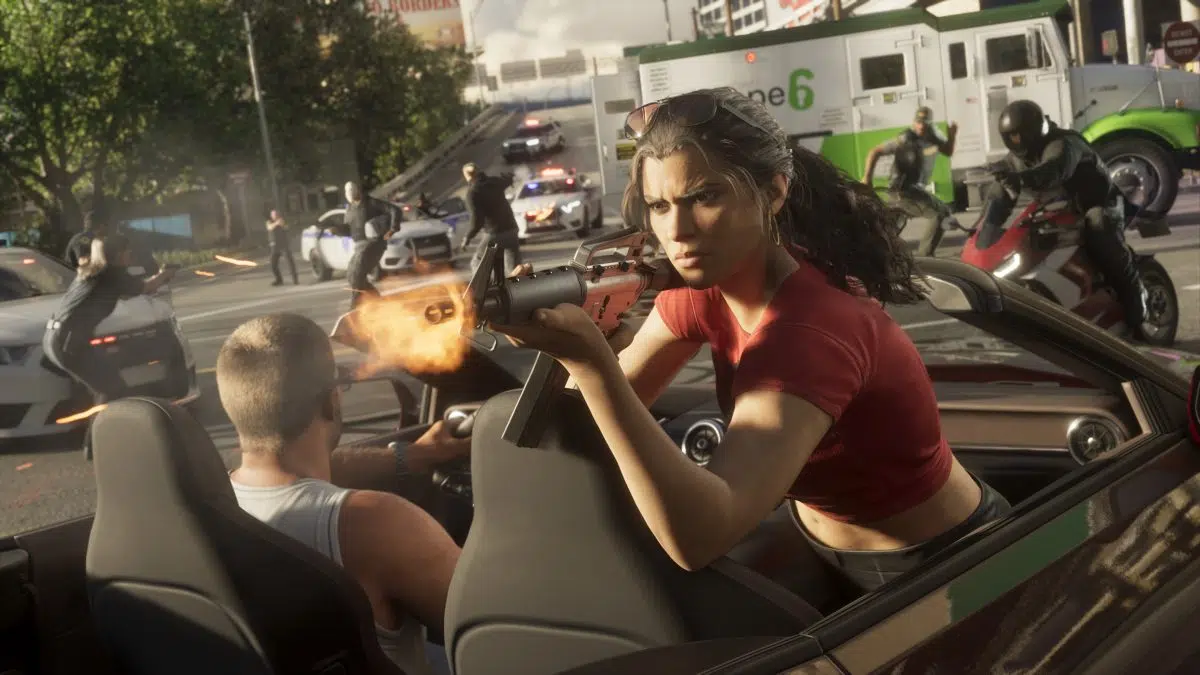
GTA 6 doesn’t feature an Easy mode or any selectable difficulty levels. Like all Rockstar titles, the game has a fixed campaign difficulty. However, you can make your gameplay experience much more manageable by changing a few settings.
This includes features such as Reduced Vehicle Damage, Accessible Combat and Simplified Mini-Games to make certain missions easier, especially if you don’t want to play like a sweat.
| Setting | New to GTA | GTA 5 Player | Motion | Streamer | Shared Living Room |
|---|---|---|---|---|---|
| Control Scheme | Default | Classic | Classic | Classic | Classic |
| Targetting | Lock-On | Partial Aim Assist | Lock-On | Partial Aim Assist | Lock-On |
| Motion Blur | 5 | 3-5 | 0-2 | 3 | 3-5 |
| Visual Effects | Default | Reduced | Minimal | Reduced | Reduced |
| Audio | Default | Reduced | Tinnitus Reduction On | Mute Licensed Music | Dialogue High |
| Gore | Default | Default | Reduced | Default | Reduced |
| Subtitles | All Dialogue | All Dialogue | All Dialogue | All Dialogue | All Dialogue + Background |
GTA 6 currently doesn’t offer a Performance mode, Quality mode, or selectable 60 FPS option on consoles. You also can’t manually choose the game’s rendering resolution through the in-game settings menu.
Players have also noticed a vignette effect that darkens the edges of the screen. If you find an effect distracting but can’t locate a corresponding toggle in the Display or Camera settings, there may not be a separate option to disable it.
Rockstar could introduce additional options through future updates, but there’s no guarantee. We’ll update this guide if new graphics, performance, or accessibility settings become available.
Jumping into GTA 6 without adjusting the right settings can make a bigger difference than you think. Rockstar has included tons of accessibility options and gameplay tweaks that can change how you experience Jason and Lucia’s story, whether you want a more relaxed playthrough or a greater challenge.
Although we’ve covered the settings we recommend changing first, it ultimately comes down to your personal preferences. So, don’t hesitate to experiment with different options until you find what works best for you.

As an Amazon Associate, iGeeksBlog earns from qualifying purchases.