How to transfer data from old to new Mac
You received your new Mac, and you are all excited to try it out until you realize you have to transfer a ton of data from your old Mac to the new one but have no idea how to do it. Don’t worry, because I will show you more than one way to migrate files from one Mac to another!
Things to do before you transfer files from Mac to Mac
- Connect both Macs to a power source.
- Either use cable or connect to a local Wi-Fi.
- Update macOS to the latest version.
Make sure they are on the same macOS version. - Name your Mac to differentiate each other.
To do so, go to System preferences → Sharing → Computer Name.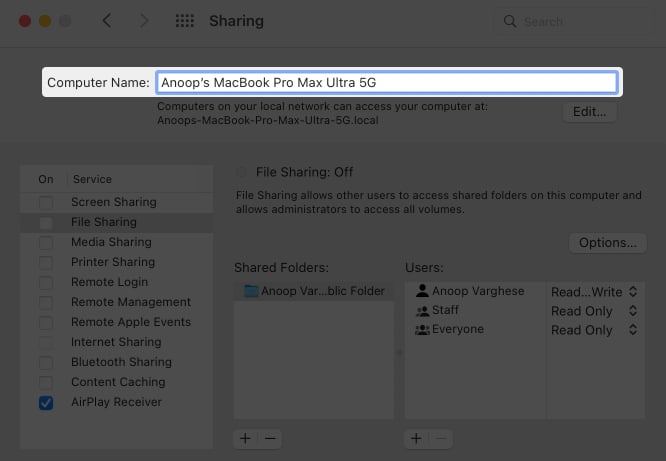
Now, select how you want to transfer data and follow the rest of the steps.
How to transfer files from Mac to Mac using Migration Assistant
Migration Assistant is a built-in app in macOS with which you can transfer information such as data, computer settings, and apps from one Mac to another or transfer data to a Mac using the backup file. Not only that, but you can also use the application to transfer information from a Windows PC.
How to use Migration Assistant
- Open Launchpad → Others/Utilities → Migration Assistant on the new Mac.
You can also use Spotlight Search. - Click Continue.
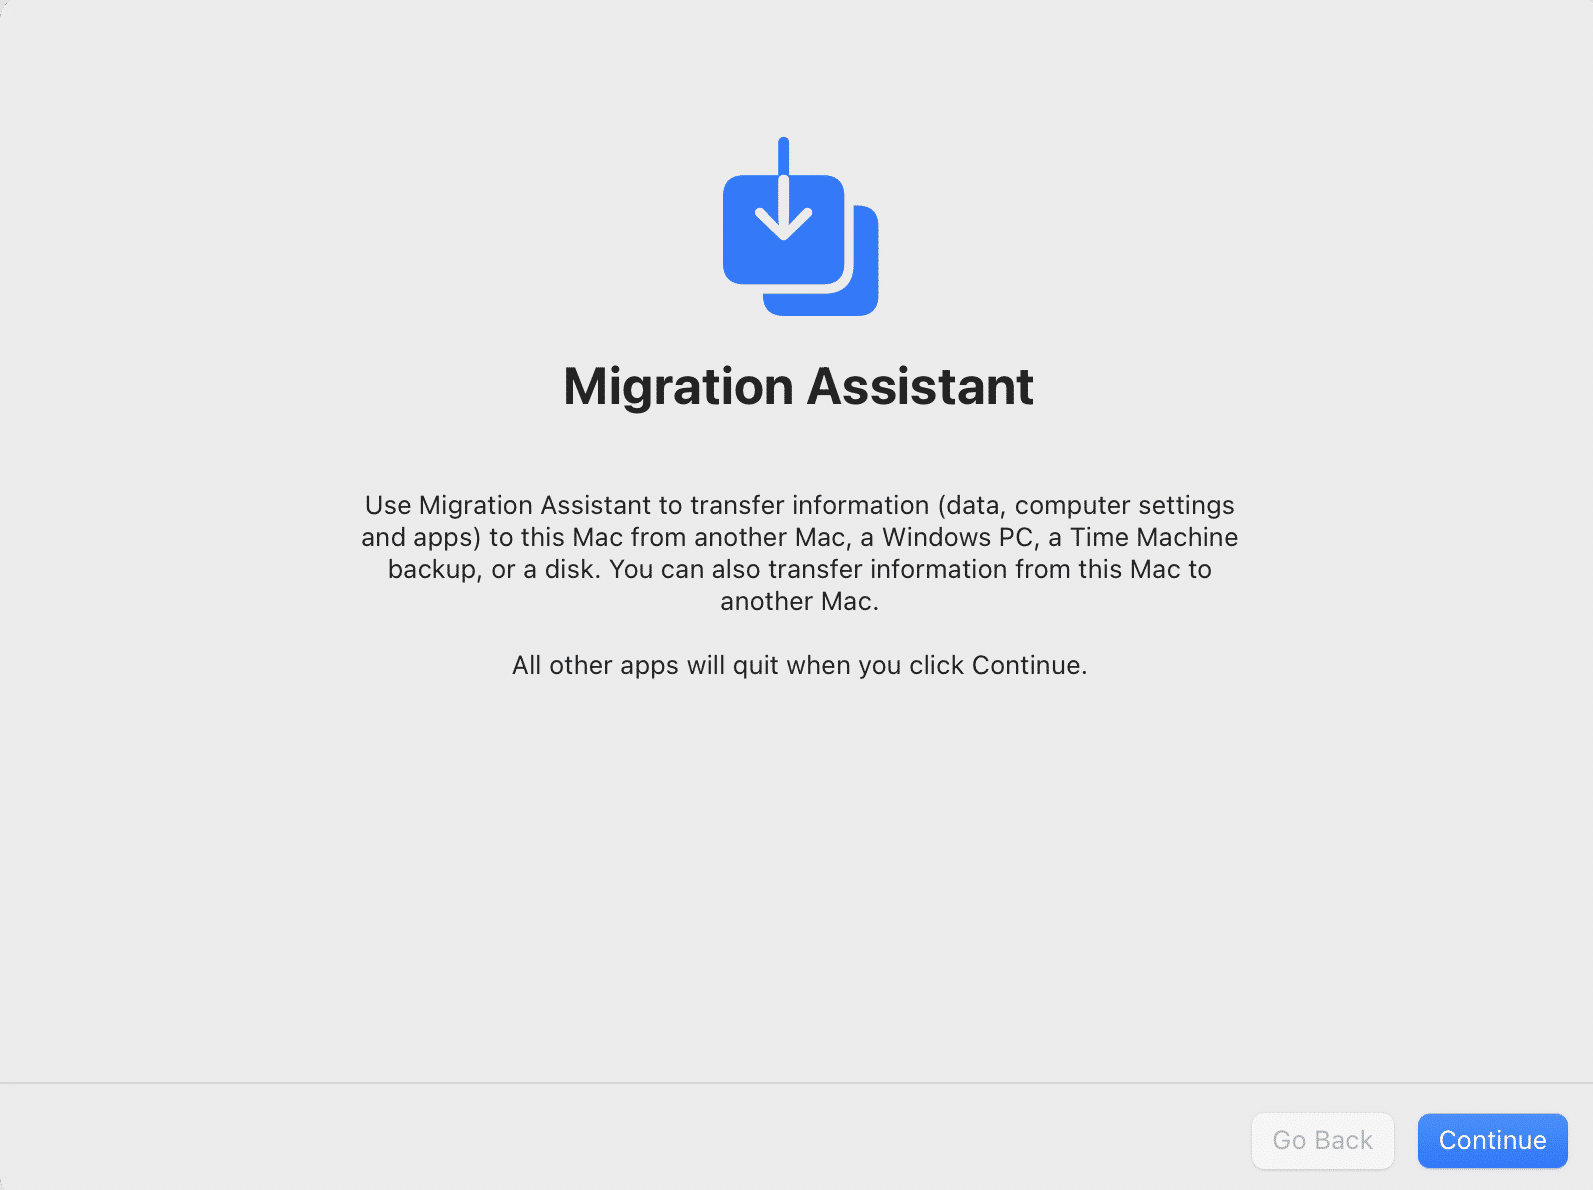
- Enter your administrator password → click OK.
- Select From a Mac, Time Machine backup or Startup disk.
- Now, open Migrate Assistant on the old Mac → click continue.
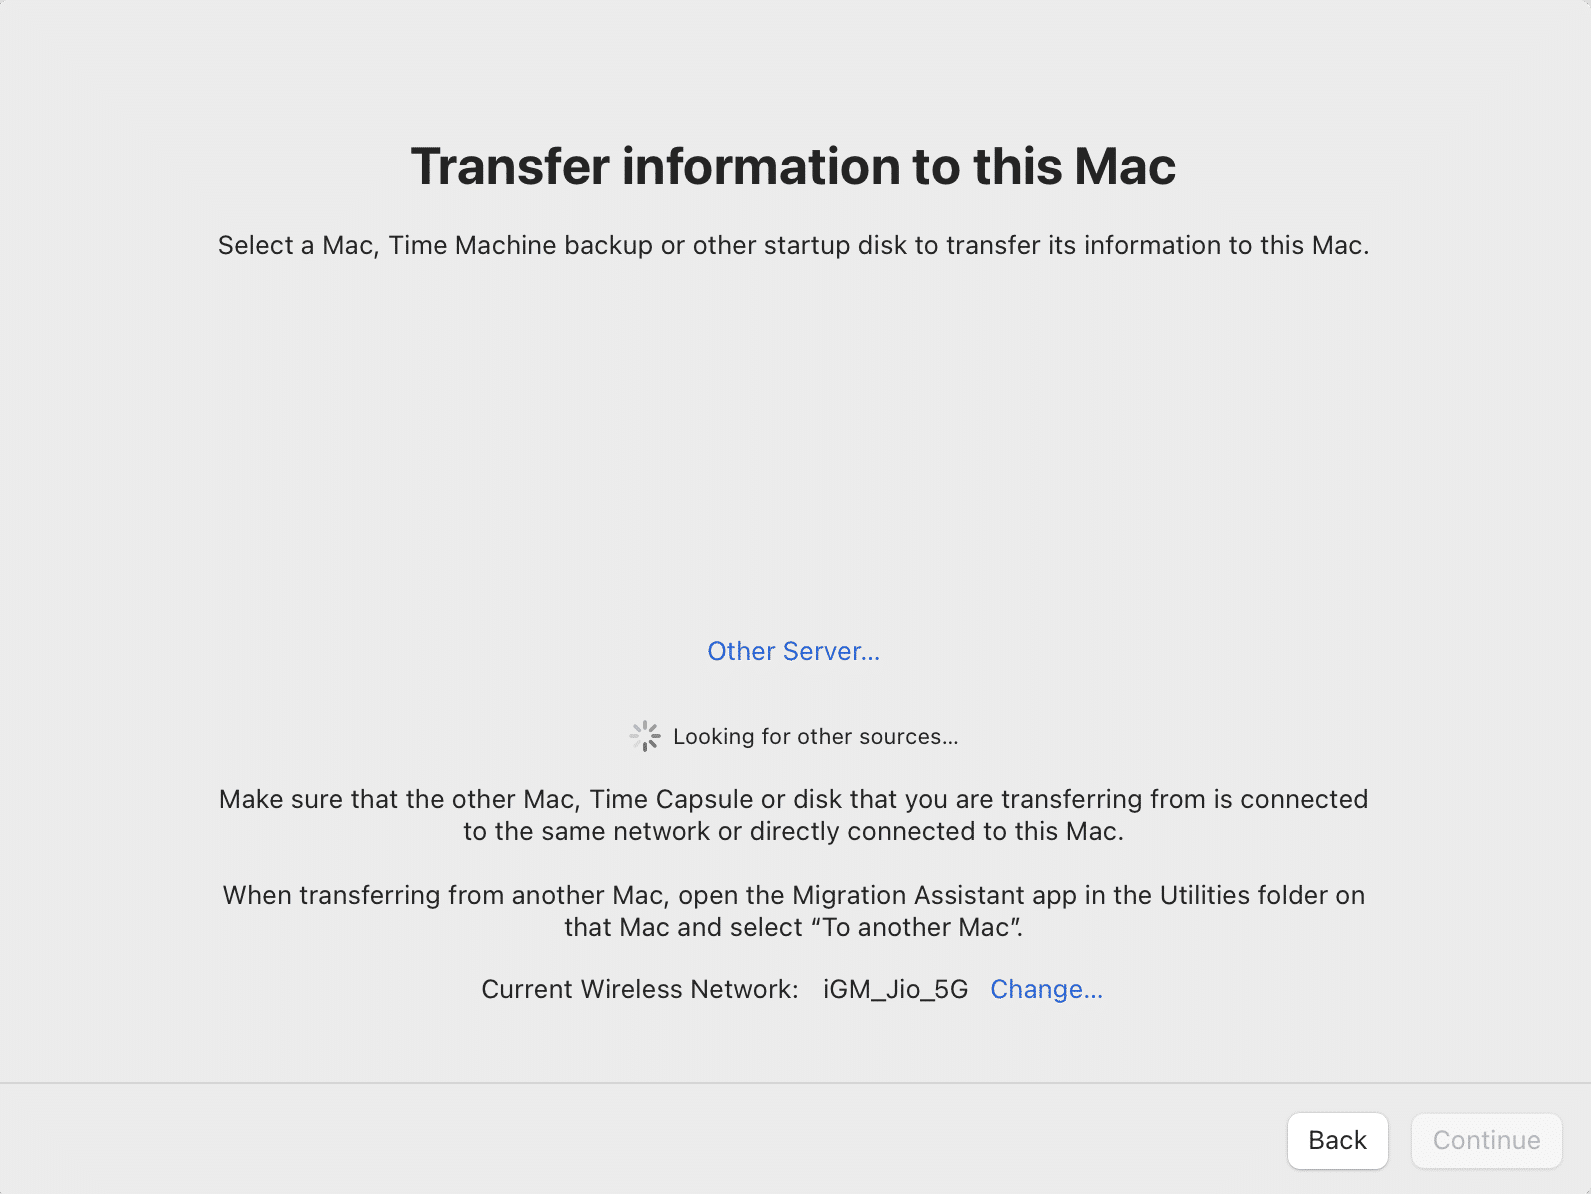
The steps will be different based on the type of way you choose for migration. I have mentioned what you need to do for each one of them.
However, On Apple Discussion, some users reported that migration assistant did not work on their MacBooks. If you’re facing the same issue, You can check out our detailed guide to fix migration assistant not working on your Mac.
Transfer files between Macs
Follow the steps mentioned in the previous section and after that, follow the steps mentioned below:
- On the old Mac, select To another Mac.
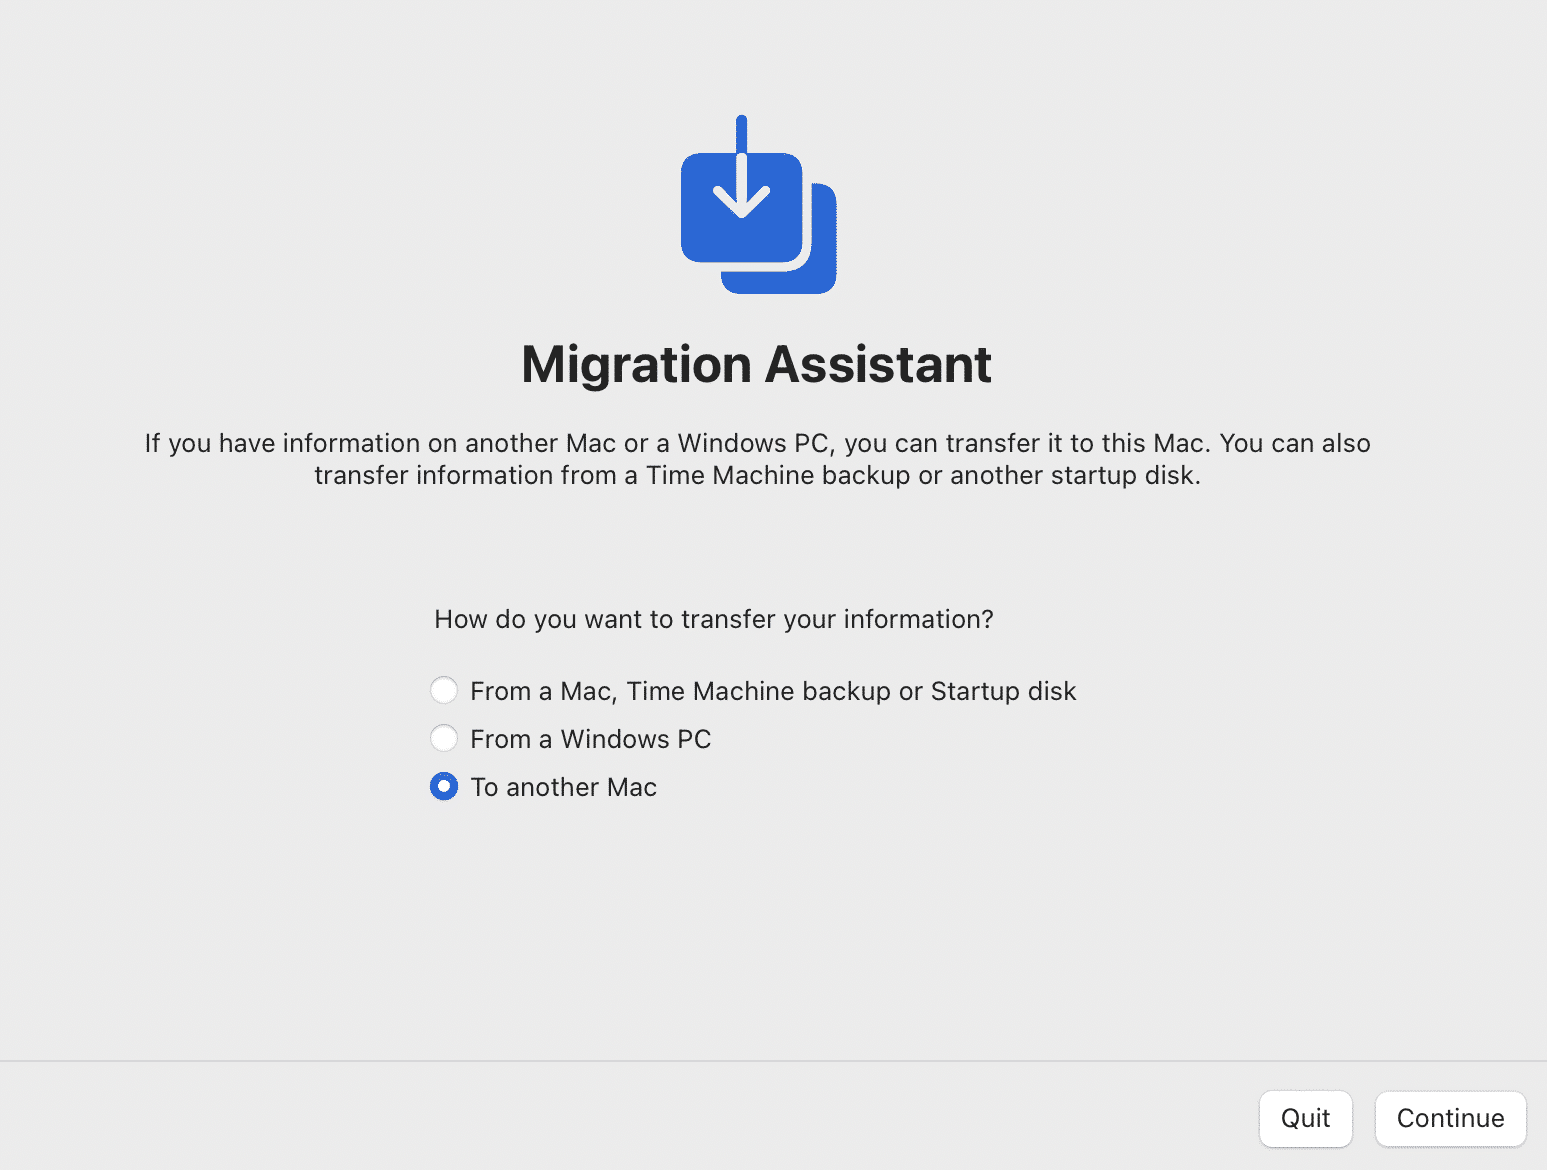
- Back on your new Mac, select other Mac → click continue.
A security code will appear on both Mac. - Check if it’s the same, and click continue.
- Now, on the new Mac, select the information to transfer.
Note: Your name refers to all the user data stored in the old Mac. - After selecting the required information, click Continue.
Wait until the data transfer is completed, and close the Migrate Assistant on both devices when completed. Now, log in with your Apple ID on the new Mac.
Note: If you plan to give your old Mac to someone, don’t forget to factory reset your Mac.
How to migrate to a new Mac using a backup
As you can assume, for this method, you need to have a Time Machine backup from your old Mac.
- Follow the common steps at the beginning.
- Turn on and connect the Time Machine backup disk to your new Mac.
- Select Time Machine backup → click Continue.
- Now, select the information you want to transfer and click Continue.
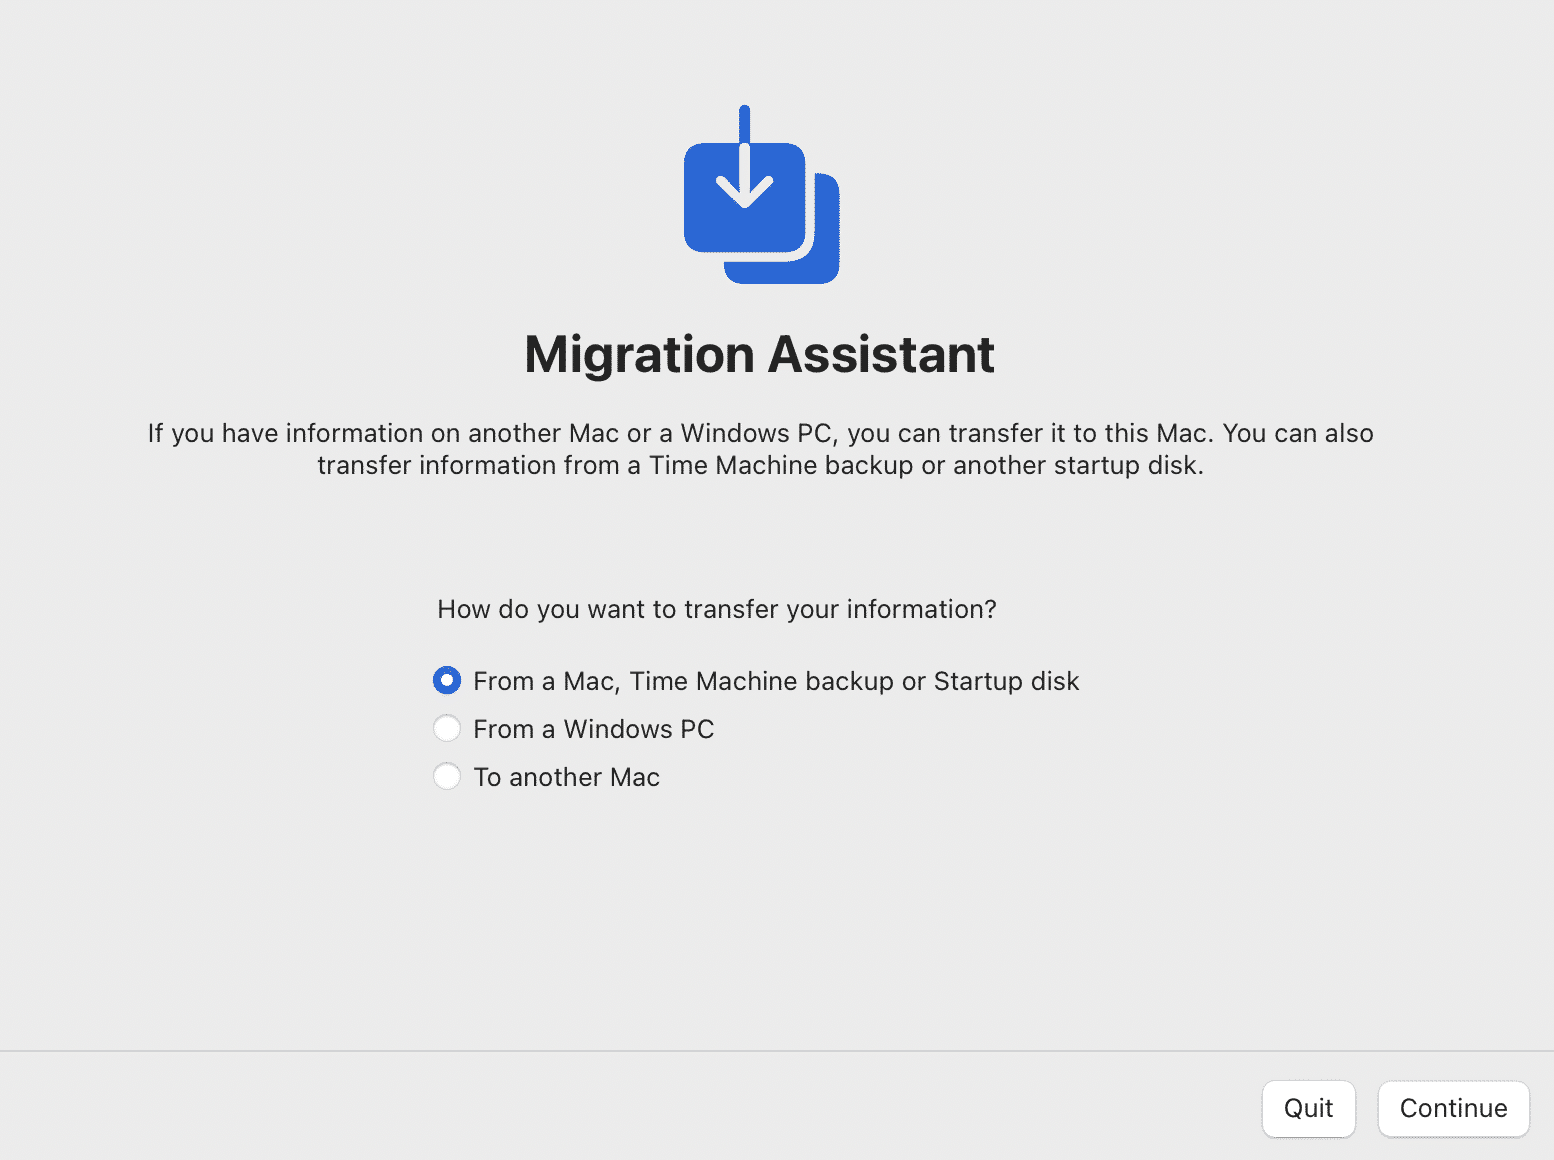
Wait for some time for the backup to finish. The completion time depends on the file size. If you had taken some other backup, you need to restore the backup file to the Mac using a different method.
Transfer files to new Mac using iCloud
You can use Apple ID to sync data between your Apple devices. But you have to enable sync for the files you want to transfer.
- Open System Preference → Apple ID → select iCloud.
- Select all the files you want to sync.
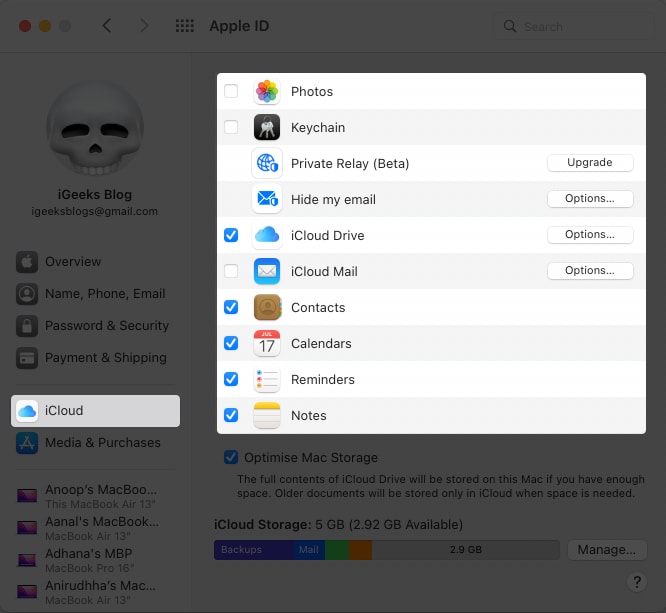
Now that you have synced data to iCloud in the old Mac, let us see how to log in with the same ID on the new Mac. Follow these steps for that:
- Go to System Preference → Apple ID → Sign in.
- Enter your Apple ID and password.
You may receive a verification code on any of the linked devices. - Enter the code.
After that, go to System Preference → Apple ID → iCloud and enable iCloud and other files. Besides iCloud, you can use other popular cloud services like Google Drive or OneDrive to upload or download files.
Mac to Mac transfer using File sharing
If you don’t want to use Migration Assistant to migrate files from your Mac to another, you can use the Finder app. For that:
- On the old Mac, open System preferences → Sharing.
- Name your Mac.
- Select File Sharing.
- Now, open Finder on the new Mac.
- Then, click Go on the menu bar and select Connect to Server.
- Click Browser.
- Double-click your Mac’s name.
- If asked, enter your username and password.
You have successfully connected two Macs. Now, all you have to do is drag and drop the files between them. But this method is not good if you have a lot of files to share.
Use AirDrop to transfer files from old Mac to new
Just like Finder, you can also use AirDrop to transfer files between an old Mac to a new Mac.
- Turn on Bluetooth and Wi-Fi on both Macs.
- Open Finder → click Airdrop on both Macs.
You can also use the shortcut shift + command + R. - Once both Macs detect each other, drag and drop the files above the new Mac and click Send.
It will be a tedious process to transfer all those files through AirDrop. Hence, I don’t suggest using it unless you want to.
Use cables with Thunderbolt 3 or above standard for transferring data fast. You can get the cable from the official Apple store as well as all major online and offline retailers.
No. Migration Assistant won’t wipe the data of the new Mac while transferring. All the application does is transfer files from the old to the new one. It won’t wipe any data stored in your new Mac.
The time for transferring files from Mac depends on which method you choose. The size and the number of files also influence the transfer speeds.
Yes, if you have enabled all the files required to transfer, the Migration Assistant will follow that instruction and then transfers every file on your old Mac to the new one.
Signing off…
Moving to a new Mac is exciting, but the thought of transferring data from an old one to a new Mac can easily drain that excitement. With this guide, I have provided the easiest ways to move files from one Mac to another. By the way, what is the total size of files you will transfer? Share in the comments below!
Your Mac experience can be boosed a lot with these reads:


