Automatic window tiling in macOS: Apple adds native window tiling, letting you organize multiple app windows without using third-party tools like Magnet or Rectangle.
Drag-to-tile functionality: You can drag a window to a screen edge or corner, and a gray border preview shows where it will snap before releasing.
Keyboard shortcuts for quick tiling: Press combinations like Fn + Control + Arrow keys to tile or resize windows faster, though some shortcuts may occasionally glitch.
Menu-based window layout control: From the macOS Sequoia menu bar, go to Window → Move & Resize to select layouts such as left half, right half, or full screen.
Caution about tiling limits: Some older Mac apps or non-optimized third-party software might not fully support Sequoia’s new tiling behavior, causing uneven layouts or overlap.
For years, Mac users turned to third-party apps like Magnet and Rectangle to manage multiple windows efficiently. With macOS Sequoia, Apple finally introduced native automatic window tiling on Mac, making multitasking easier without extra software.
This built-in feature automatically arranges and resizes windows when you drag them to screen edges or corners, so you can focus on your work instead of juggling overlapping windows.
Here’s a complete guide on how to use automatic window tiling on your Mac, including drag-and-drop, keyboard shortcuts, and menu bar options.
First, make sure your Mac is updated to macOS Sequoia or later.
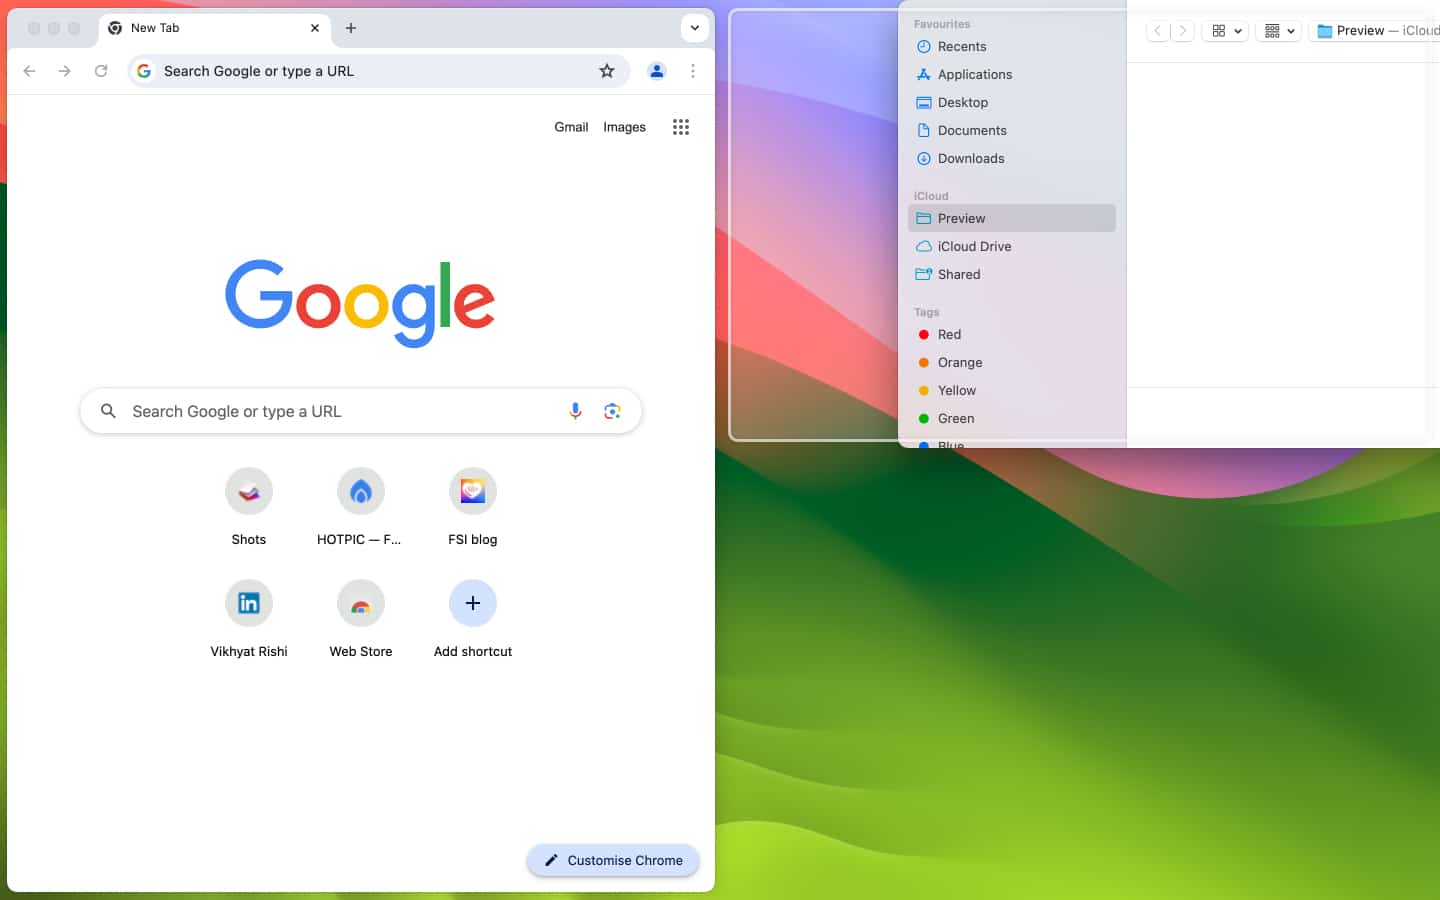
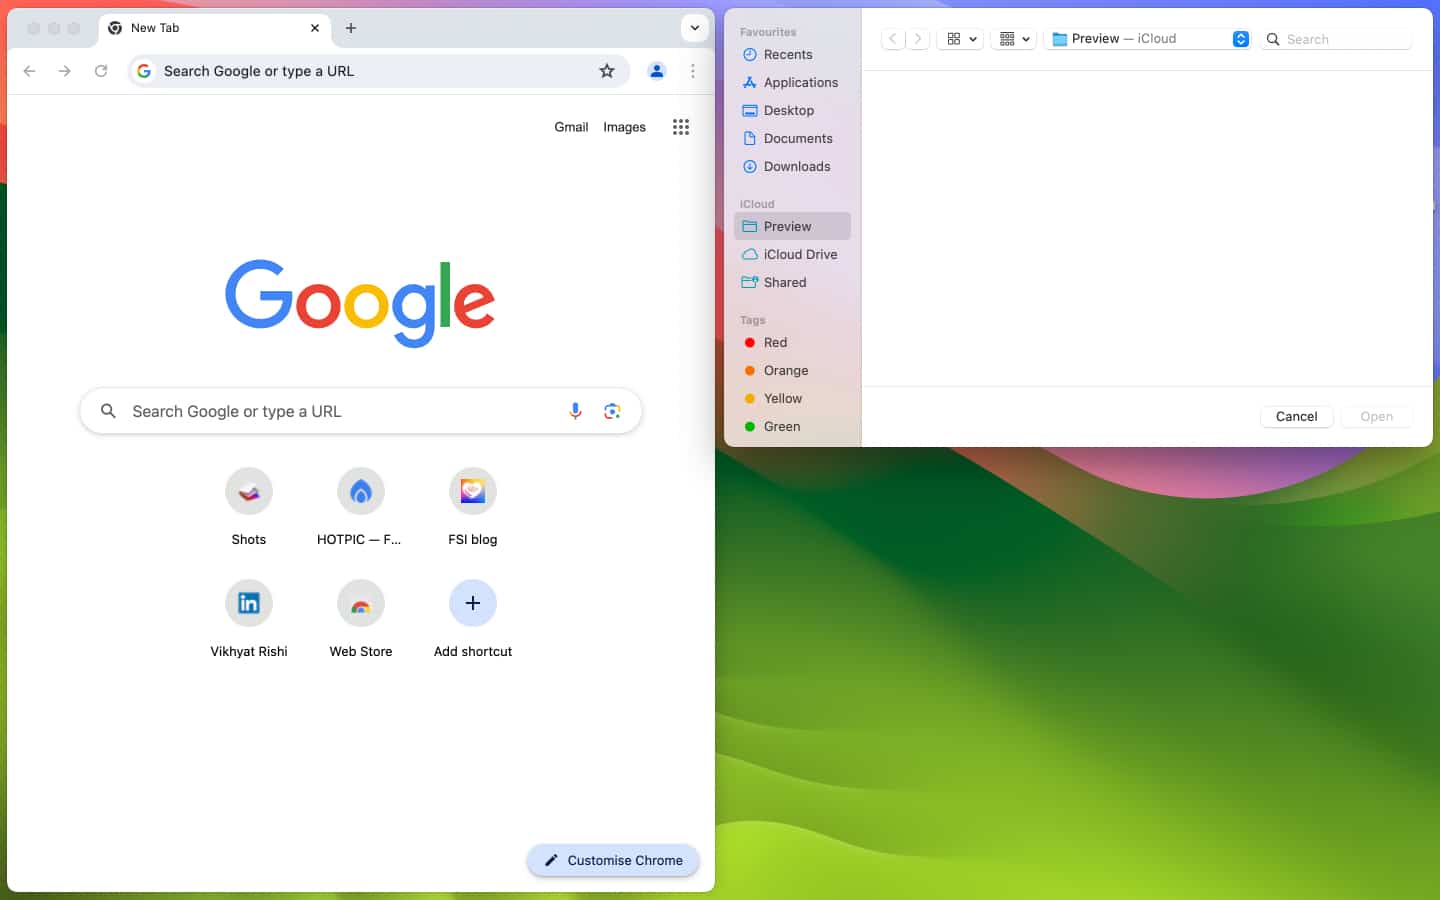
Click and dragthewindow to the right or left edge or towards any of the top or bottom corners.
When you do so, a grayborder will appear around the window to preview the size and position of the window tile.
Once you leave the window, it will automaticallysnap into the designated window tile.
Mac Keyboard Shortcuts for Automatic Window Tiling
If dragging and dropping is not your go-to choice, you can use the Mac keyboard shortcuts to frame the window tiles in a particular spot.
To create a half-screen window tile, press the (Fn) function + (⌘) control + the left, right, up, or down arrow keys.
To change the orientation of the window tile, press (Fn) function + (⌘) control + shift + the left, right, up, or down arrow keys.
Press the (Fn) function + (⌘) control + R keys to return the window tile to its original size.
While keyboard shortcuts are a great way to use the new automatic window-tiling feature, I found them malfunctioning or not working a few times during my testing.
Another method to use the new automatic window-tiling feature is to use the top toolbar.
Select the window you want to move.
Click the Window button in the top toolbar.
Next, click on Move&Resize, then select the desiredoption.
You can always exit auto-tiling by moving the window, which will return it to its original size.
Why Use Automatic Window Tiling on Mac?
Automatic window tiling is one of the best macOS Sequoia features for productivity. Here’s why:
No need for third-party apps like Magnet or Rectangle.
Quickly compare documents side by side.
Stay organized with multiple apps visible at once.
Works seamlessly with keyboard shortcuts, drag-and-drop, or the menu bar.
Final Thoughts
That’s everything you need to know about using automatic window tiling on Mac. It’s a simple feature, but one that makes multitasking much smoother.
Have you tried it yet? Let me know your experience in the comments.
Vikhyat has a bachelor's degree in Electronic and Communication Engineering and over five years of writing experience. His passion for technology and Apple products led him to the tech writing space, where he specializes in writing App features, How-to guides, and troubleshooting guides for fellow Apple users. When not typing away on his MacBook Pro, he loves exploring the real world.
")