How to run Android apps on Mac (M1, M2, M3, M4 chips)
Step-by-step guide to using Android apps on Mac (M1 & Beyond).
Do you know you can enjoy your favorite Android apps and games on your Mac? While macOS doesn’t natively support downloading Android apps from the Google Play store, you can use specific emulators to bridge the gap. In this guide, I’ll share the best methods to install and run Android apps on Mac with the latest Apple Silicon (M1 and later). Let’s get started!
Requirements to run Android Apps on Mac
Now before we move on to the steps, let’s take a look at the prerequisites and compatibility requirements:
- macOS version: Ensure your Mac is running macOS 10.12 (Sierra) or later.
- Hardware specifications:
- RAM: Minimum of 4GB, though 8GB is preferred for smooth use.
- Storage: Minimum 8GB free disk space.
- Stable internet connection: A stable internet connection is essential for downloading and running emulators and apps.
Note that some traditional Android emulators were built with Intel-based Macs in mind and may not work correctly on new Apple Silicon ones. Selecting the emulator based on your Mac’s architecture is essential for smooth operations. So, here are the best Android emulators for Mac that I tested.
Running Android apps on Mac using Android Studio
Android Studio is Google’s official integrated development environment (IDE) for Android app development for free. It includes a built-in emulator that can run Android applications on your Mac. First, let’s see how to set it up properly:
- Visit the official Android Studio website. Click on the download link compatible with macOS, agree to the terms and conditions, and click Save.
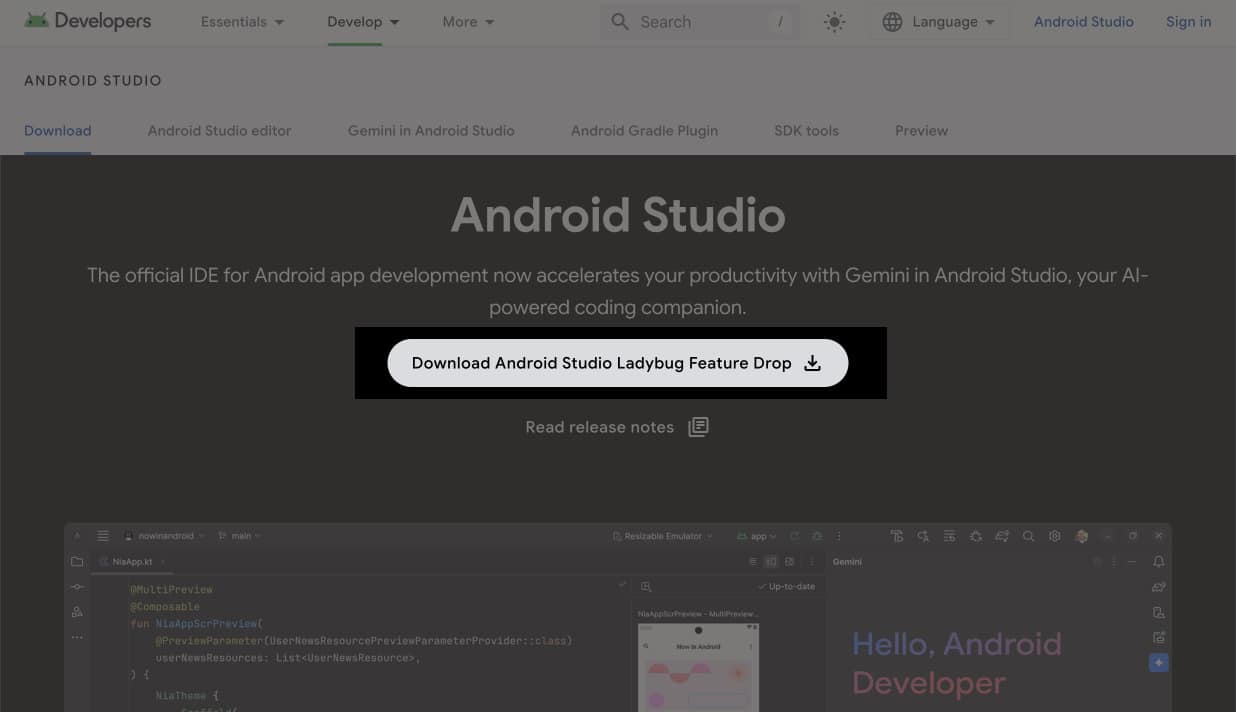
- It will take some time to download as the file is approx. 1.2 GB. Open the downloaded .dmg file. Drag and drop the Android Studio icon into the Applications folder.
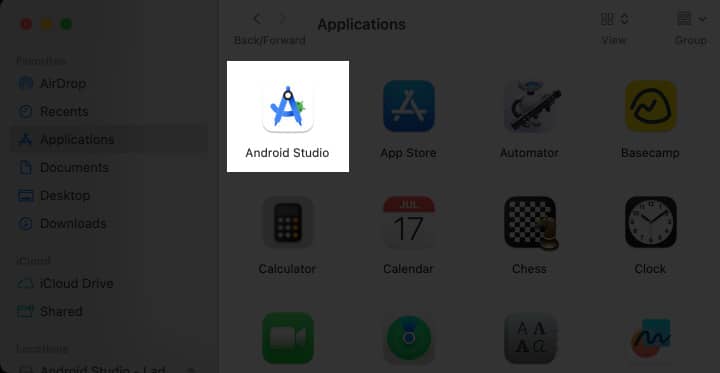
- Now, launch Finder, navigate to the Applications tab, and double-click on Android Studio to open it. Click on Open if prompted.
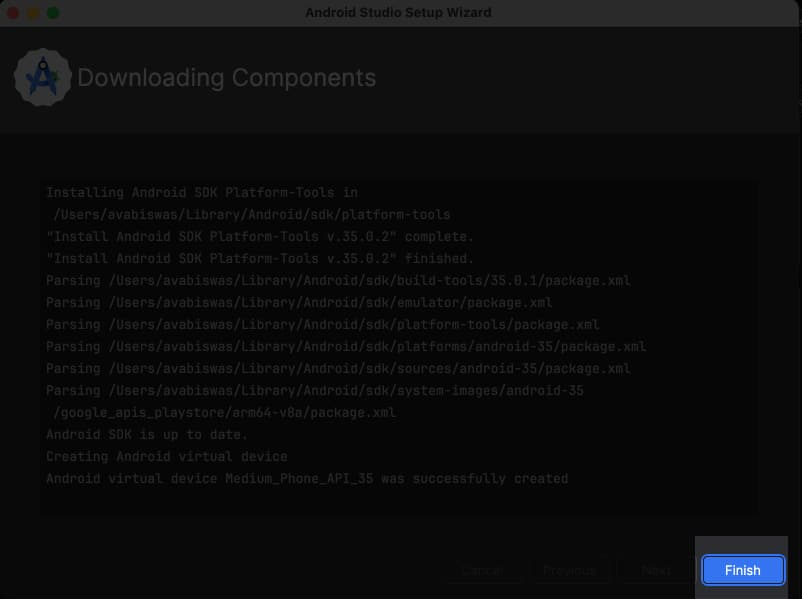
- Follow the setup wizard prompts and accept the license agreement to complete the initial configuration. It will start downloading the necessary packages.
- Once the download is completed, click Finish. It will launch the main interface.
Now you have successfully set up Android Studio on your Mac, let’s see the steps to run apps in it.
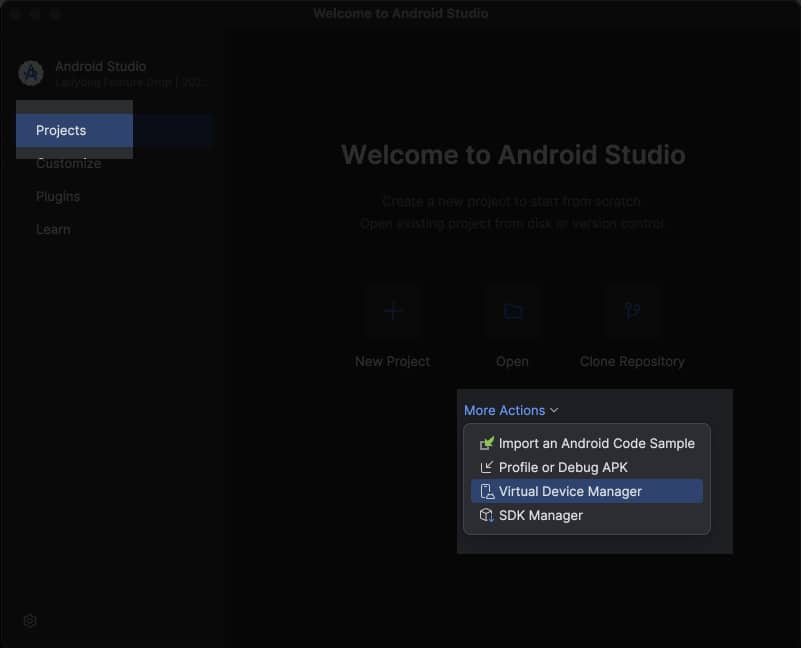
- In Android Studio, ensure you are in the Projects tab and click on More Actions.
- Select Virtual Device Manager.
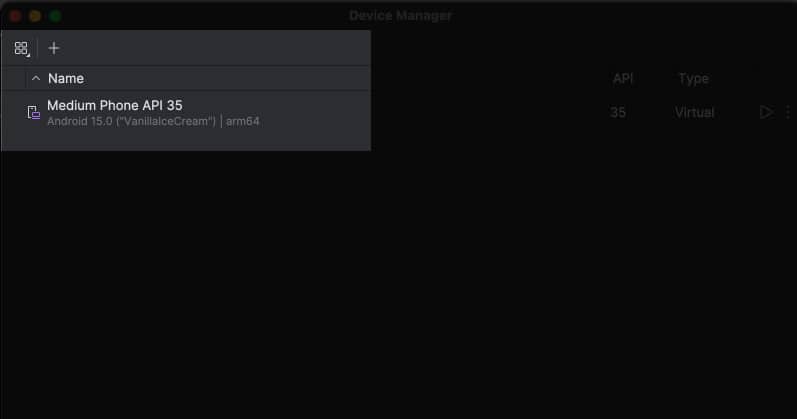
- Click the Play button next to the Medium API. You can also select a device by clicking the plus icon at the top.
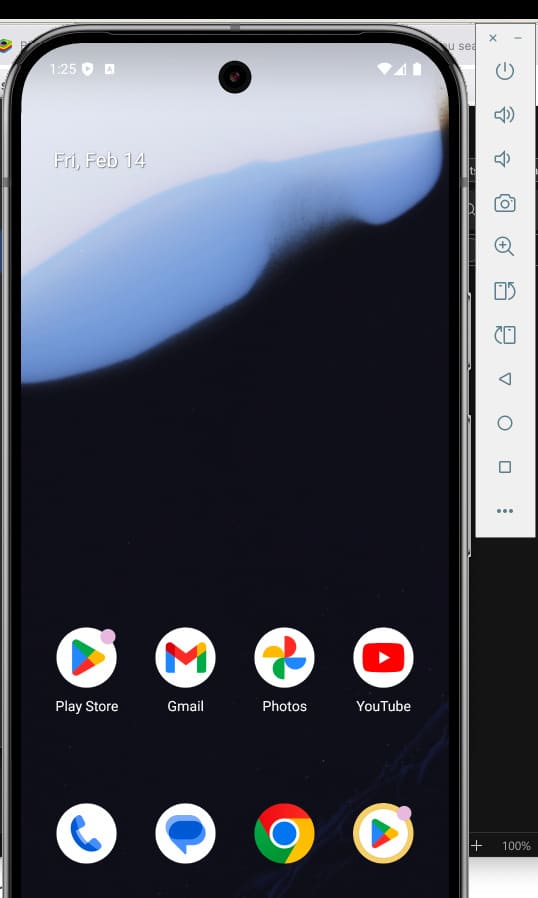
- The emulator will launch, presenting you with a virtual Android device.
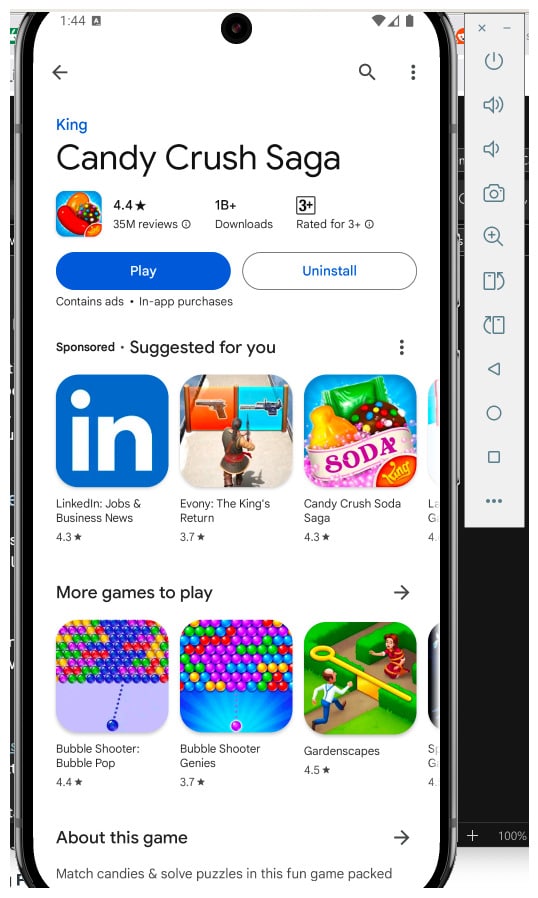
Within the emulator, open the Google Play Store. You can use your keyboard and trackpad to navigate through the Android device. Then, sign in with your Google account to access the apps and games. You may search for and install apps as you would on a physical Android device.
After the game is downloaded, click Play to start the game and enjoy! Once done, simply click the x icon on the sidebar to close the emulator.
Best third-party emulators to use Android apps and games on Mac
If Android Studio feels too complex or resource-intensive, you can use several third-party Android emulators. They offer a more user-friendly interface and features. Below are some of the top options:
1. BlueStacks Air
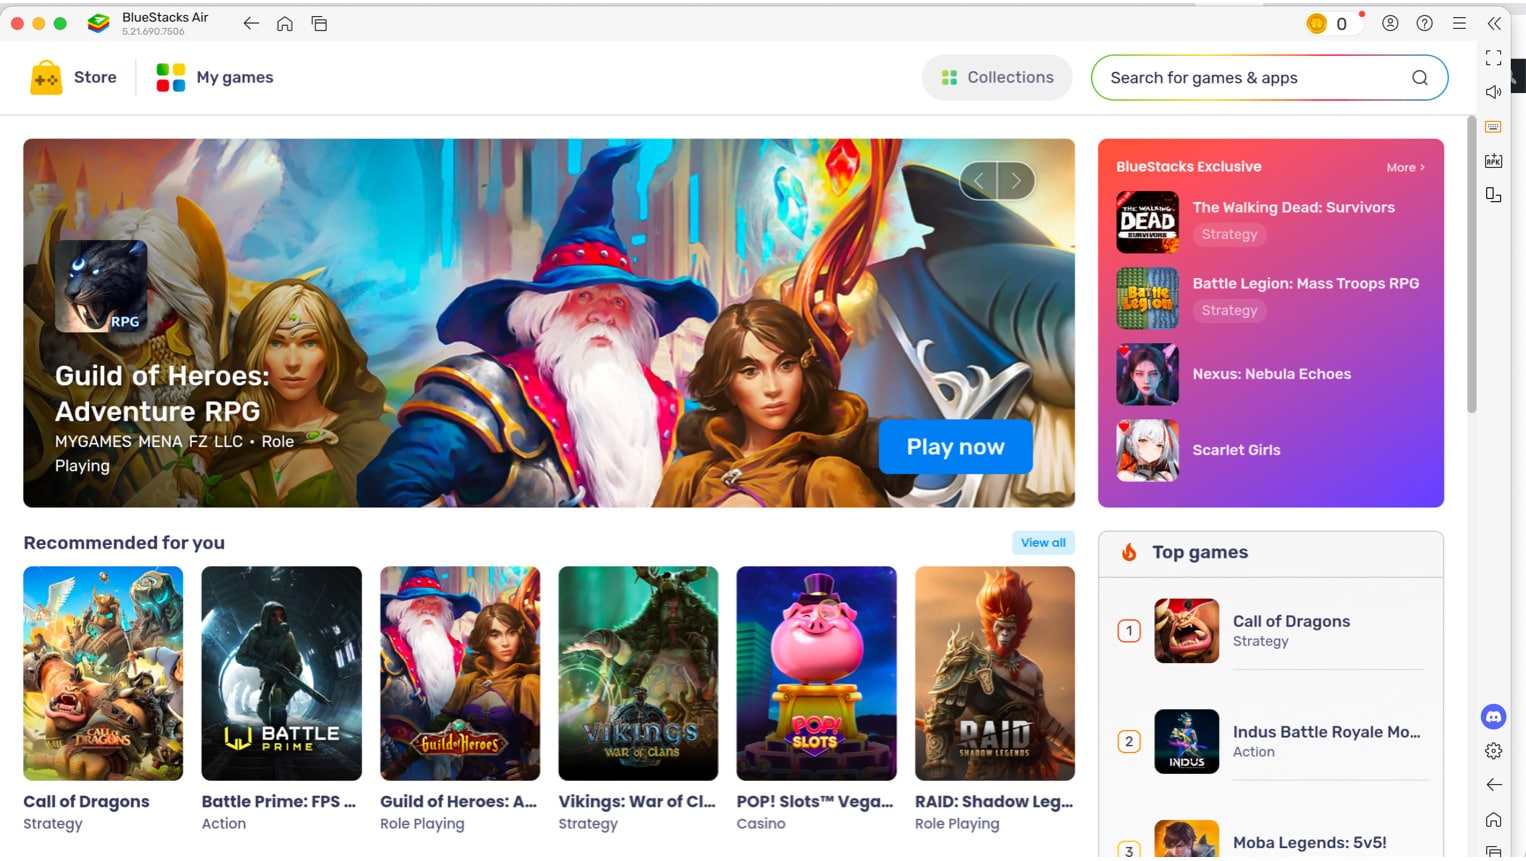
BlueStacks is one of the most popular Android emulators, known for its stability and user-friendly interface. It allows you to run a wide range of Android apps and games on your Mac natively for free.
To get it on your Mac, visit the official BlueStacks website and click on the download button for macOS. Open the downloaded installer and follow the on-screen instructions. You may need to authenticate the installation.
Once installed, open Finder on your Mac and launch BlueStacks from your Applications folder. You will see the BlueStacks store on the Home page for the first time. Here, search for the desired apps and install them via the Google Play Store. You need to sign in to your Google account. It also offers exclusive apps and games that you can buy or install from the BlueStacks Store.
Pros
- User-friendly interface
- Supports a wide range of apps and games
- Regular updates and active community support
- Works in sync with the car’s infotainment system
Cons
- May experience performance issues on older Macs
- Some apps may not run perfectly due to compatibility issues
2. MuMuPlayer Pro
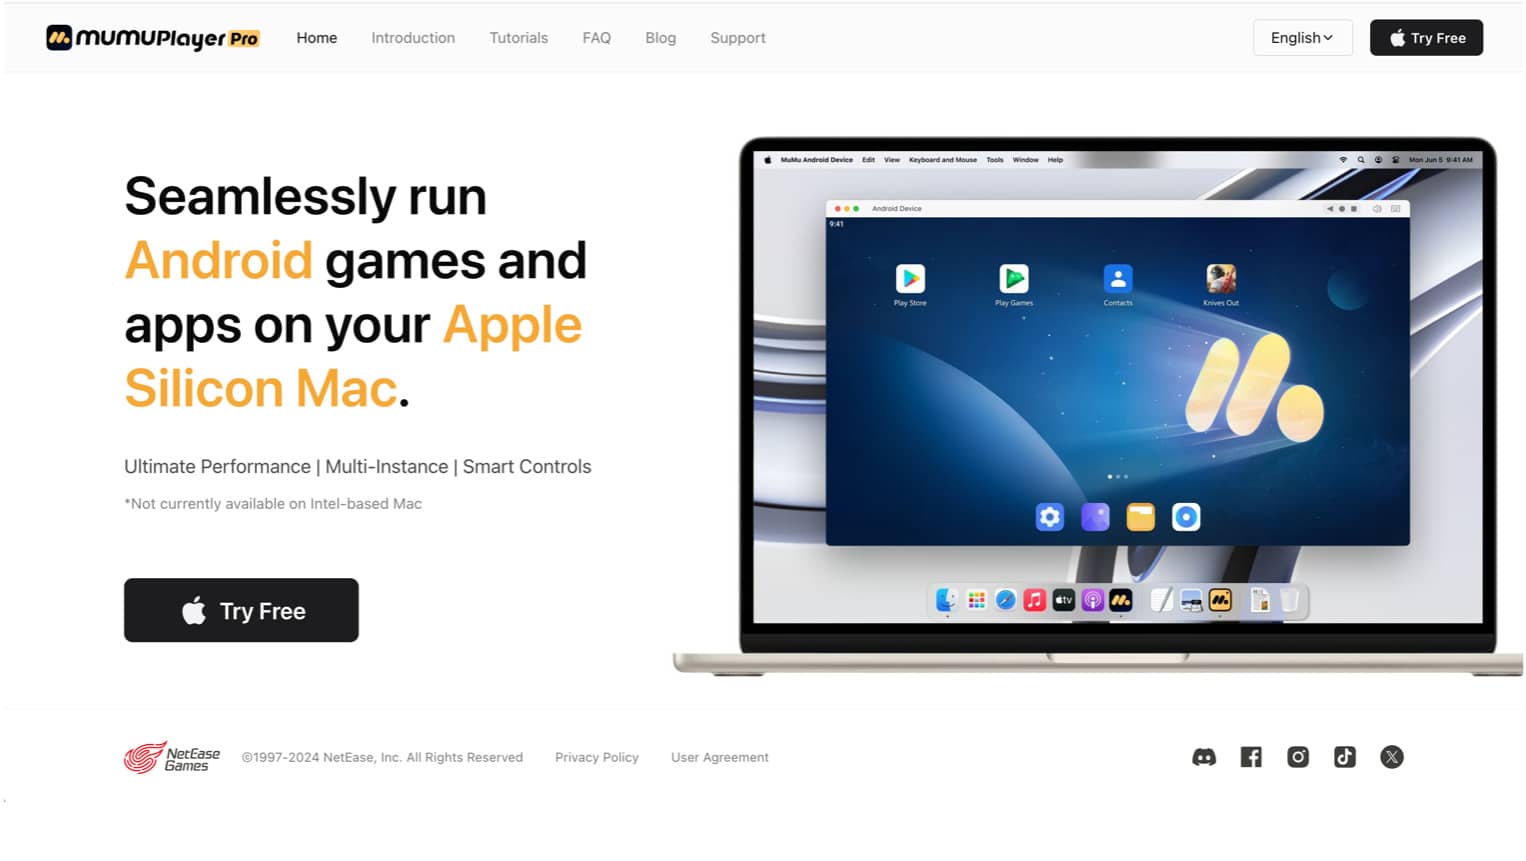
MuMuPlayer Pro is an Android emulator specifically designed for Apple Silicon Macs. It doesn’t support Intel-based Macs. So, if you have the latest Macs, you will get a seamless experience for running Android apps and games on macOS.
To use MuMuPlayer Pro, go to the official MuMuPlayer Pro website and click on Try Free to download the .dmg installer file. Next, open the downloaded .dmg file and agree to their User Agreement and Privacy Policy when prompted. Now, double-click the MuMuPlayer Pro icon to begin the installation.
After installation, click Open on the prompt and select Launch. Upon the first launch, sign in with your Google account to access the Google Play Store. For first-time users, it offers a free trial. Click Start a 7-day trial to use the emulator.
Now, click the play icon to access the virtual device. It will open an Android interface in landscape mode. Select Play Store and sign in with your Google account. Then, search for and install your desired apps or games. Click Play to launch the game in portrait mode like a mobile device.
Pros
- Ensures high-definition graphics on M1 and M2 Macs
- Run multiple apps or games simultaneously
- Offers smart controls for an enhanced user experience
Cons
- After a 7-day free trial, continued use requires a paid membership
- Inconsistent performance and sudden crashes
3. Genymotion
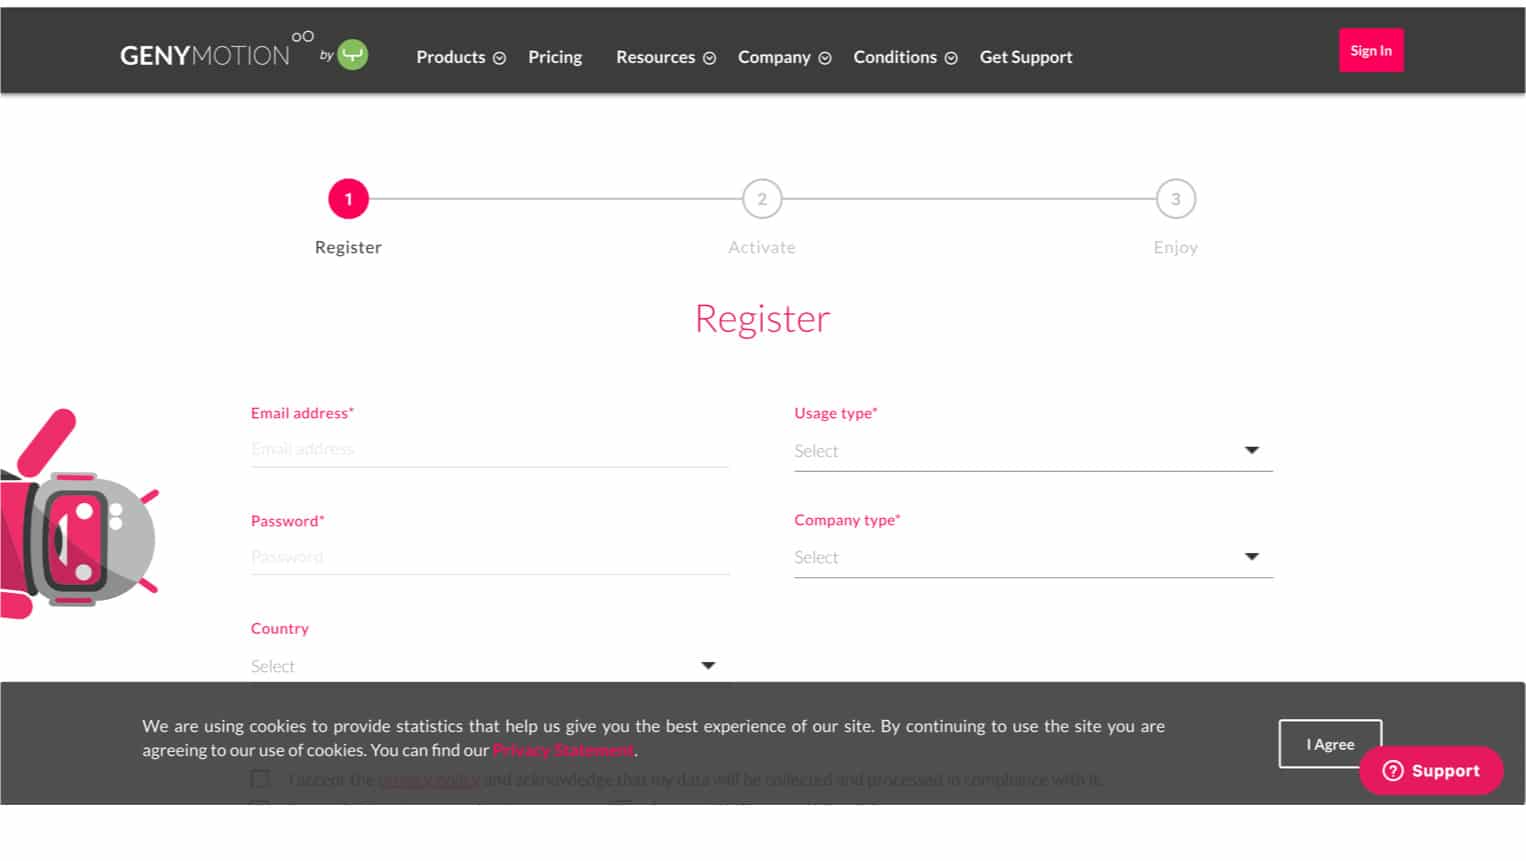
Genymotion is a versatile Android emulator primarily aimed at developers, but you can also use it. It offers both desktop and cloud versions compatible with Apple Silicon Macs. However, you need to use Rosetta to run this emulator.
Go to the Genymotion website, scroll down and click Get Started under the Genymotion for PC & Mac option. Then download the .dmg file on your Mac and drag the Genymotion icon to the Applications folder. Now, launch it from there. It will prompt you to install Rosetta to run the scripts.
Once done, click Open on the dialogue box and create your Genymotion account. Enter your email account and password in the required field and activate your account on their website. Once set up, select a virtual device template and start the instance. Use the virtual device’s interface on your web browser to install and run Android apps.
Pros
- High performance and reliability
- Suitable for both development and general use
- Offers cloud-based access, reducing local resource usage
Cons
- Requires Rosetta to run the emulator
- The free version has limited features
- May be complex for beginners
Signing off
Now you can run Android apps and games on your Mac with ease, I hope. When deciding what the best emulator is, you must consider your Mac specs, how complex you want the set up to be, and what specific Android apps you want to use. Make sure to check if your system meets the requirements and keep in mind that emulators may effectively slow things down.
You would like to read these posts as well:


